Flexible Moulding Installation
When you receive your Pro-Flex moulding, be sure to check that the measurements on the back of each piece matches the particular application you are about to install.
Let the material acclimatize to room temperature.
Do not soak your flexible moulding in hot water or wipe with a corrosive cleaner as this will decrease the effectiveness of the clear surface primer.
The ideal Installation temperature is 18-22 degrees celsius and 65-72 degrees fahrenheit.
Installing Flexible Casings
… and then on the surface where it is to be installed.
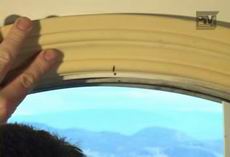
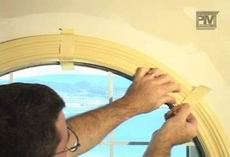
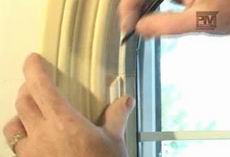
Temporarily clamp, tape or pin the flexible profile in place, starting in the middle of the arch working outwards to the ends so the material is not stretched and flat spots in the curve are eliminated.
Some slight bending or adjustment may be necessary if the moulding has relaxed a bit during shipment;
however, do not over stress the material, as this may cause it to buckle or crack after final installation.
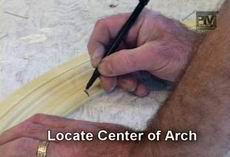
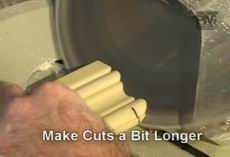
Mark the flexible moulding profile where it is to be cut in order to join up to its matching wood profile.
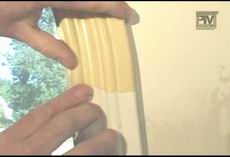
Try the part once more to be sure that it fits properly.
Check the thickness of the moulding profile to the thickness of the matching wood profile where the two will meet. It may be necessary to shim or plane off either product to allow them to align properly.
To fasten the moulding in place use an 18 gauge pneumatic pin or brad nailer. Alternatively, any screw holes required should be predrilled. All nails or screws should be placed no closer than 3/8 of an inch from the edge of the moulding.
Do not use a staple gun.

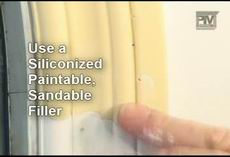
Once the caulking is dry, lightly sand the joints.
If the moulding was ordered with an oak wood grain pattern rather than typical paint grade finish, be careful not to damage any wood grain patterns.

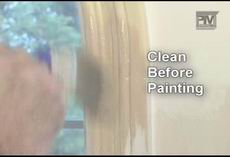
Be sure that the moulding is clean before painting using a non corrosive cleaner.
All surfaces may be coated using oil or latex paint or a heavily pigmented or gel stain. Gel stains are available at most building material suppliers.
Installing Flexible Crown Moulding
Crown and cornice mouldings are installed much the same way as casings.
For inside curves, It may be necessary to add 1/8 of an inch to your final measurement to decrease the risk of stressing the moulding during installation.
For some applications a miter cut may be necessary.
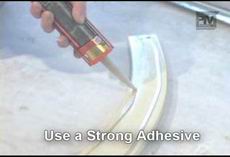
Remember to glue all adjoining surfaces, then fit the moulding, shimming and trimming as necessary to get the perfect fit.

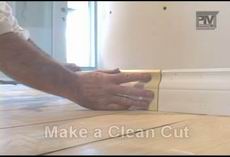
Installing Baseboard Moulding
Base board moulding and chair rail molding are the easiest to install as there are no pre-measured radius required, since they are bent on their back against the thinner measurement of the moulding profile.
Make a clean cut on one end of the baseboard and then lay it in place to determine the exact length of the piece before cutting the other end… finishing the job as you would with casings or crowns