Fiber-Cast Composite Column Installation
| 1. Measure the net opening length where the column is to be used. Install brace so that the opening is slightly increased for easy installation of the column. | 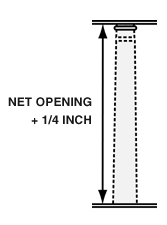 |
| 2. IMPORTANT! Trim the top of the column if necessary, so 1/8″ to 1/4″ of the column extands beyond the cap, so the load rests on the column, not the cap. Trim the bottom to fit the overall opening determined in step number 1. Lightly sand the column shaft and the cap and base with 100 grit sandpaper to insure good paint adherence. | 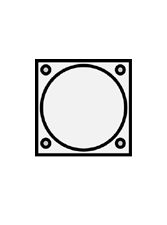 |
| 3. Drill holes in corners (pre-marked) of the cap and base for screws and/or bolts if you elect to use the latter. Be sure to use construction adhesive whether or not screws and/or bolts are used. | 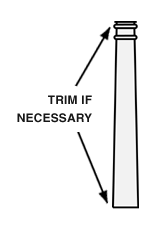 |
| 4. Place base on the column by sliding it down from the top end of the column as illustrated. | 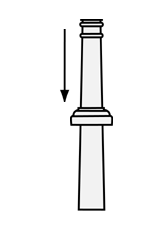 |
| 5. Stand column into its vertical level position. Slide base to floor. Mark a pencil ine around the column at the top of the base, and.. | 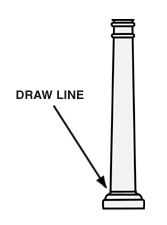 |
| 6. Slide the base out of the way. | 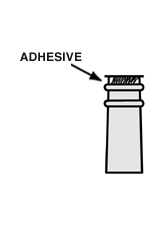 |
| 7. Run a bead of construction adhesive around the top of the column above bearing shoulder in a zig-zag pattern and install cap with a twisting motion. | 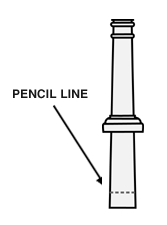 |
| 8. Spread adhesive on all bearing surfaces of both cap and base making sure to leave no gaps on edges. |  |
| 9. Run a bead of construction adhesive around the shaft at the pencil line. | 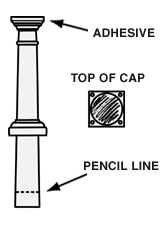 |
| 10. Stand the column into its permanent position, slign the cap and level the column. Remove the brace (See No. 1) and allow the full weight onto the column. Slide the base down the shaft and align it with the cap. Press base down firmly to assure thorough construction adhesive contact. Be sure the load is spread evenly over the bearing surface of the column. |  |